Thursday, March 20, 2014

Dancing and Disappearing 9 patch quilts

Life changes quickly.  Just when I was thinking that it would be really nice not to have to get up each morning and go to work, my position at work disappeared and I was terminated.  I truly believe that God has a plan and I can't wait for the next chapter in the book of my life.

I've had some time lately to work on a few projects and get some sewing done.  This week's project has been 3 quilts for a family of boys in our church.  I wanted to make it easy on me, so I used the same block - a disappearing 9 patch block using 5 1/2" cut squares.  I had planned for a regular sashing and a border.  I found this dancing arrangement while surfing and decided to go this route.

Why I started with 5 1/2" squares, I have no idea....but they did make nice big blocks and they sewed up quickly.  The math may have been a bit easier if I had cut them at 6", but too late now.  The tops are done!

I started by cutting my fabrics into 5 1/2" strips, then each strip into 5 1/2" squares.   Now, I don't have, and never really had a lot of scraps in my stash.  So, yes, I did go out and buy fabrics for these "scrappy" quilts!  Now, I do have a stash and will probably make more blocks/quilts for future give aways.

I didn't pay attention, just sewed groups of 3 units together. Then I sewed 3 sets of 3 together.  The only rule was that adjoining squares could not be the same fabric.


Once the block was sewn, I cut the block in half horizontally and vertically.


Then I took the top left and the bottom right and rotated them 180 degrees.  The block looks good....but, if I took 4 units from different blocks, I get a really great scrappy arrangements


All the units were sewn into pairs.  The pairs were sewn into blocks.  Again, the only rule was that I didn't want 2 adjoining pieces the same fabric.

I added sashing to two sides of the blocks as per the info on the Quiltville blog.  I added the sashing to the same two sides of the blocks.  Once the blocks were together in the quilt, the blocks were rotated....look at the little squares in the corners of the blocks.  They aren't all in the same position. The quilt does "Dance" a little more.
 
I wasn't sure if I liked it that way, so on the 2nd quilt, I took my time and made sure the blocks were the same way round once the sashing was sewn on.  I am not sure that it makes that much difference.  In the future, I will probably not worry and do the first arrangement as it is faster and there is less chanc of me making a mistake!
I needed to do 3 quilts for 3 little boys.  The youngest is a new born, so his quilt is smaller with only 6 blocks.  As I had made enough quilts for 3 quilts with 12 blocks each, I now have two smaller quilts with 6 blocks.  Woot, Woot!  I have an extra quilt ready to finish and give away.
 
I have  more 5 1/2" squares cut, not too many.  I have scraps left over from cutting the squares from the strips.  I need to find a project that I can sew to use up these scraps.  Maybe I should have cut 6" squares, so they can be cut down into 2" or 3" squares. ....hind sight is 20/20!   I'll come across something perfect one day.  For now, they'll go in a clear plastic tub and be put on the "TO DO" shelf.


Tuesday, March 11, 2014

Design Wall

I have a small piece of flannel pinned to my wall and to put up a block or two, is OK.  But trying to lay out a whole quilt or a larger number of blocks, is not OK.   Pinterest reminded me that I can create a cheap and perfectly usable design wall with a flannel backed table cloth.

Dollar store to the rescue!  For all of $2 I was able to get myself a design wall that is perfect for the projects I have.  I pinned the table cloth to the wall with the flannel side out....  I will staple it to the wall when I find my box of staples for my empty stapler....The blocks will stick to the flannel and I won't have to worry about them falling down during the night!
Now, all 9 blocks are easy to see and I don't have to worry about them being too crowded.
 
The blocks are almost all stitched and now I need to choose block layout and sashing.  I had originally planned to use the dark brown block background for sashing and have the flowers "float" on the whole background.  I found this piece of batik yesterday, and now I am changing my mind.  The original plan was to do lots of flower and leaf quilting on this wall hanging.....mmmmm.


Sunday, March 9, 2014

Fabric Wrapped Bowls

What do you do when you wake up at 3:30 in the morning and you can't tell if the clocks in your house have already been moved forward for daylight savings time?  Waking up at 3:30 when you went to bed early (9 ish) is ok, but 2:30 is not!  So, I laid in bed and played on Pinterest on my smart phone.  I like the DYI and crafts section.  There is always something interesting to look at and find inspiring.  Some projects are a little too far out there, but I often find something to really get my creative juices flowing. 

Thread bowls were the inspiration this morning.  There are a number of pins and I'll post a few of the links later.
It starts with inspiration.   I have a bankers box with hand dyed fat quarters and scrap pieces.  Many of these fabric pieces were discards, pieces that didn't dye well, or the fabric looked Yuk when they were rinsed and pressed.  I couldn't throw them out, so into the box they went.  I also had a roll of cording.  Not the official clothes line that many use, but thick enough to do the job.

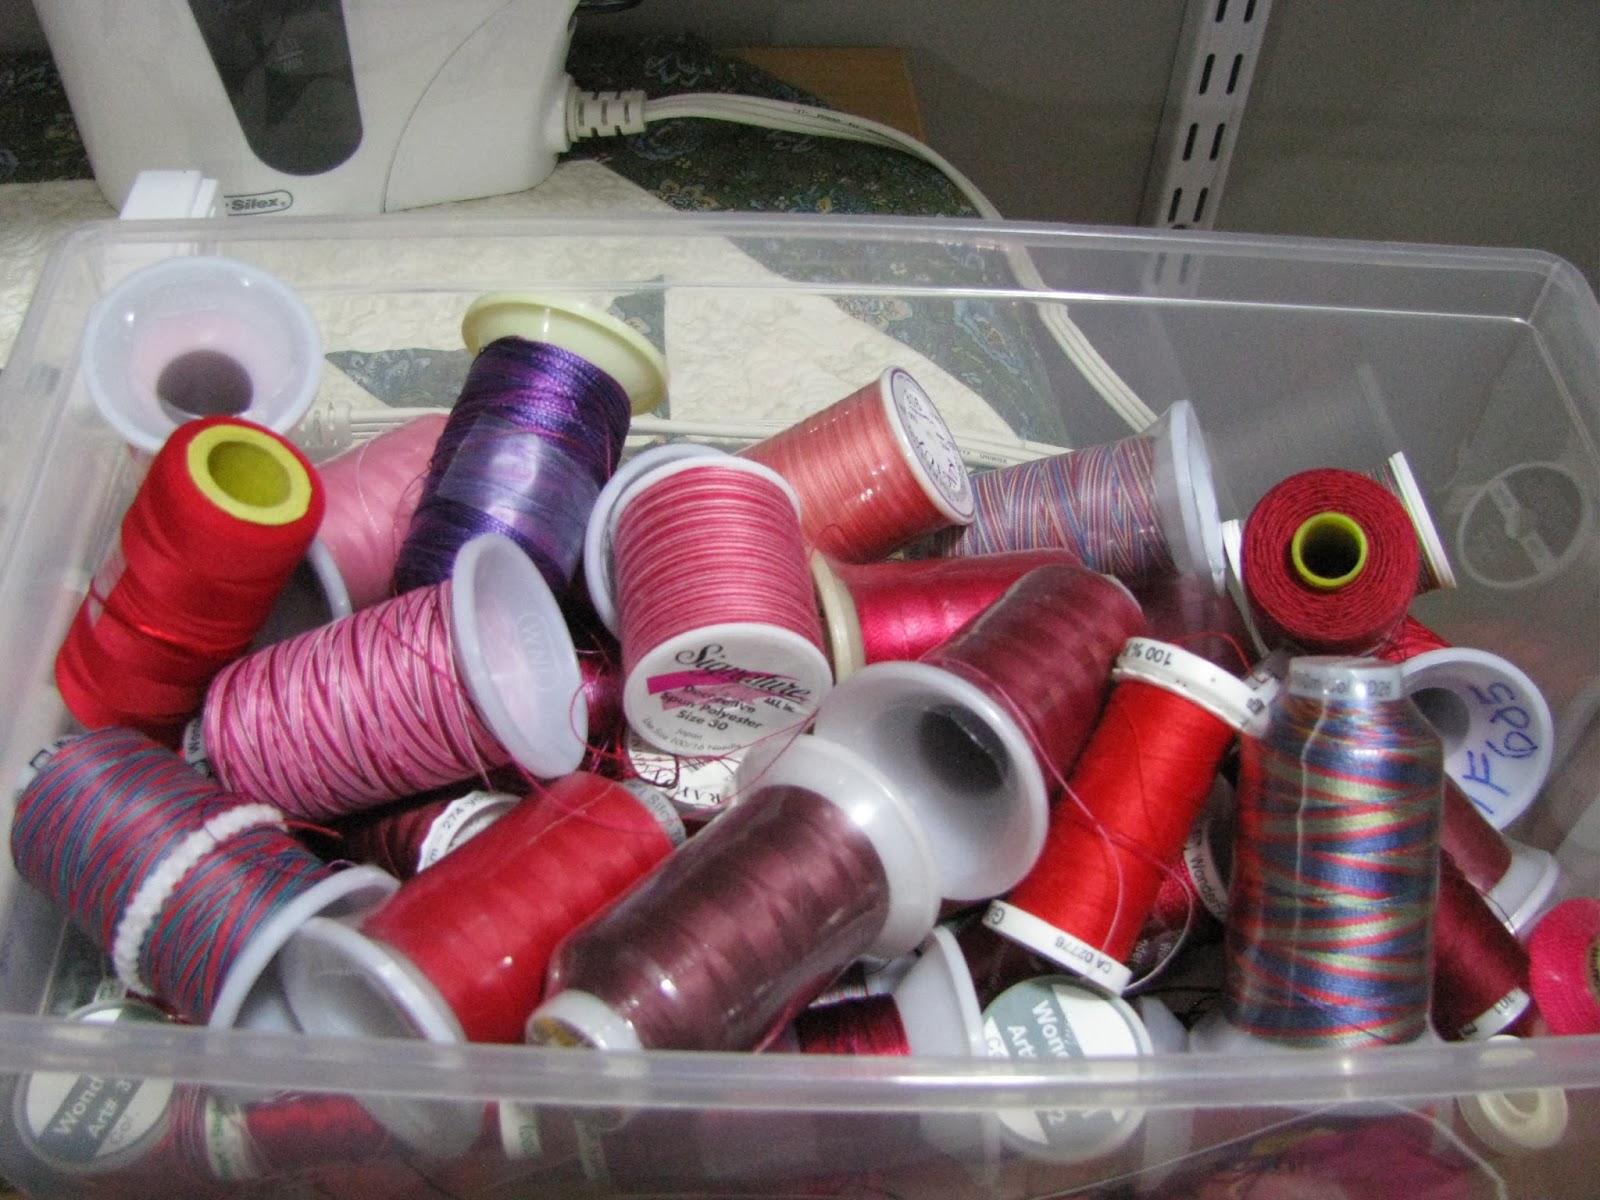
Next up is thread.  The thread shows on this project and it can make or break the finished look of the bowl.  I have seen some bowls stitched with what ever thread was on the machine.....not nice.  So, out comes the pink/red thread box.  One of two actually, to see what will work.  


I have chosen this red/pink/white variegated Silco thread from Wonderfil threads.    


Set up the machine with a fairly wide and long zig zag stitch. For this bowl, I used a stitch width of 4mm and a length of 3mm.  Best to experiment with your machine before you start.


Latest Projects - new socks finished and pattern ready to post.

Wow, it's been a busy couple of weeks.  We had our staff Valentine's Potluck and sock gift exchange.  A lovely lady "won" the socks.  My boss originally had them, but as in all of these Gift Exchange games, they were stolen from her.  I hope to make a new pair and put them on her desk for her. 

I finished a pair of hand dyed blue socks for myself.  This yarn was dyed before I started knitting....

I started these last summer after watching Donna Dracunus' Sock class.  This toe cast-on is called the moccasin cast on.  They have been the perfect cold weather socks and have kept my toes toasty this weekend.

The next project is getting one of my quilting patterns ready for sale on Craftsy.  It's a little machine quilted wall hanging.  It's quick to make and uses a very unique method of fusible applique.

I have a friend who has just moved back into her home after being forced out for 4 months due to a house fire.  I have just finished this early sample of the "bless this house" wall quilt and dropped it by her house last week.